Transforming Semistructured Data with PySpark and Storing in Hive Using Cloudera ETL.


In the vast landscape of data engineering and analysis, one common challenge is to transform the raw semi-structured/unstructured data into meaningful insight. In this blog, we will transform the semistructured data i.e. the CSV file into a structured dataframe and store it into a hive table using pyspark.
I'm using Cloudera (CDH 6.2.0) as an ETL tool for those who aren't familiar with Cloudera here is the introduction Cloudera is the most widely used and popular distribution of Hadoop it delivers the core elements of Hadoop ecosystem along with web-based user interface and enterprise solutions it offers batch processing/real-time processing capabilities along with user based access control.
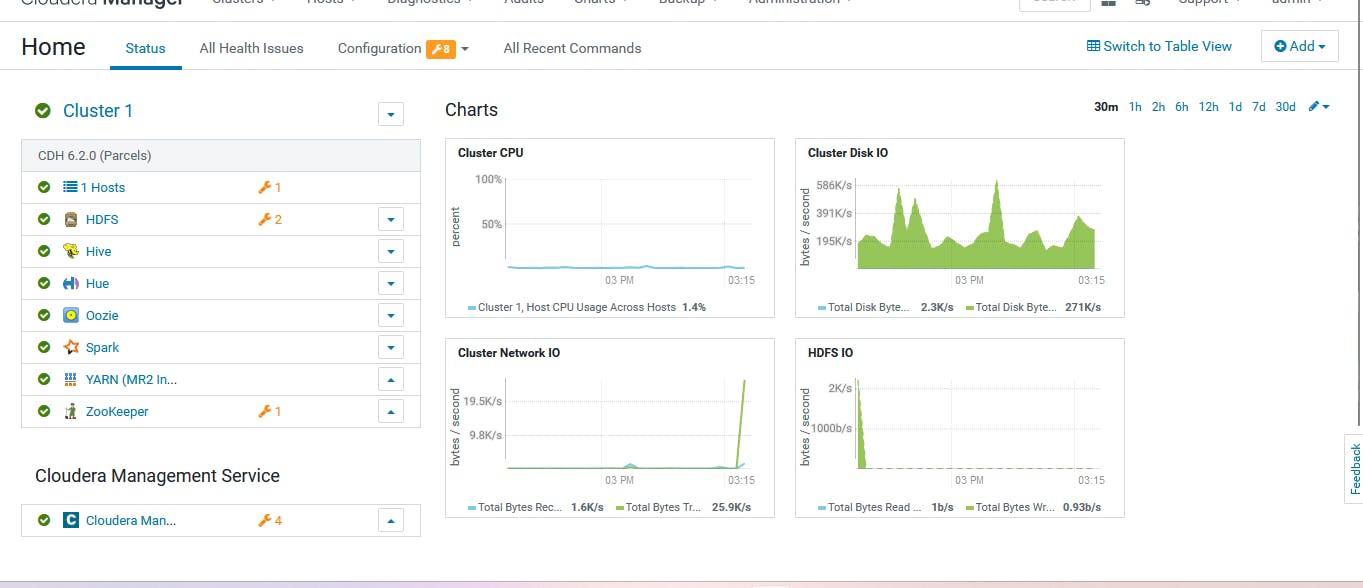
Im using a sandbox cluster of cloudera i.e. of single node having CPU 6 cores and memory 18.5 GB deployed on a Google compute instance. Here's what my cluster looks like
This is a test cluster deployed and not a production-grade. We will begin with downloading the sample csv file from https://www.datablist.com/learn/csv/download-sample-csv-files I have downloaded the organizations-1000000.csv file. However in real-time clusters, data is fetched through streams by using tools like Kafka,rabbitmq, kinesis etc. You can see the content of the file by doing cat. Now before writing the pyspark code for transformation and running it, we need to change some default values of YARN parameters which will be required to run the job the parameters that need to be changed are
yarn.nodemanager.resource.cpu.vcores: I have allocated this as 4 core
yarn.nodemanager.resource.memory-mb: default 1 g, allocated 8 gb
yarn.scheduler.maximum-allocation-vcores: 4 (should be less than or equal to yarn. nodemanager.resource.cpu.vcore)
yarn.scheduler.maximum-allocation-mb: I have allocated 6 gb (this also should be less than or equal to yarn.nodemanager.resource.memory-mb)
you can find all this configuration under the YARN service configuration set the values and restart
Now download the above .csv file mentioned using the wget command. I have put the file on the cluster by hdfs dfs - put <filename> /user/org/. After you have put the data on a cluster make a file using vi or nano editor with .py extension and it is time to write our pyspark code
from pyspark.sql import SparkSession
from pyspark.sql.types import StructType, StructField, IntegerType, StringType, LongType, DoubleType

#CREATE SPARK SESSION
spark=SparkSession.builder \
      .appName('PYSPAR_TO_HIVE') \
      .enableHiveSupport() \
      .getOrCreate()


schema = StructType([
    StructField("id", IntegerType()),
    StructField("customer_id", StringType()),
    StructField("company_name", StringType()),
    StructField("website", StringType()),
    StructField("country", StringType()),
    StructField("industry", StringType()),
    StructField("year_founded", IntegerType()),
    StructField("type", StringType()),
    StructField("employee_count", IntegerType())
])
#DEFINE CSV FILE PATH
csv_path='hdfs://<hostname_of_namenode_machine>:8020/user/org/organizations-100000.csv'
df=spark.read.csv(csv_path,header=True)
df.show()

#CREATE A TABLE TO STORE THE STRUCTURED DATA
df.write.saveAsTable("sample_data_hive", format="hive",schema=schema)

# Show the filtered DataFrame
filtered_df.show()

# Stop the SparkSession
spark.stop()
Here first we are importing the necessary libraries and modules to create a spark session the code starts by creating a spark session and then defining the schema for storing data in a structured way. Then we define the path to read the .csv file. The df.write.saveASTable create the table named 'sample_data_hive' with the defined schema and format=hive ensures that the data should be saved in Hive-compatible format and it leverages the hive metastore to manage the hive data. Now save the file and we will submit this script using the spark-submit command
spark-submit --master yarn --deploy-mode client --num-executors 3 --executor-cores 4 --executor-memory 3g --driver-memory 2g <yourfilename>

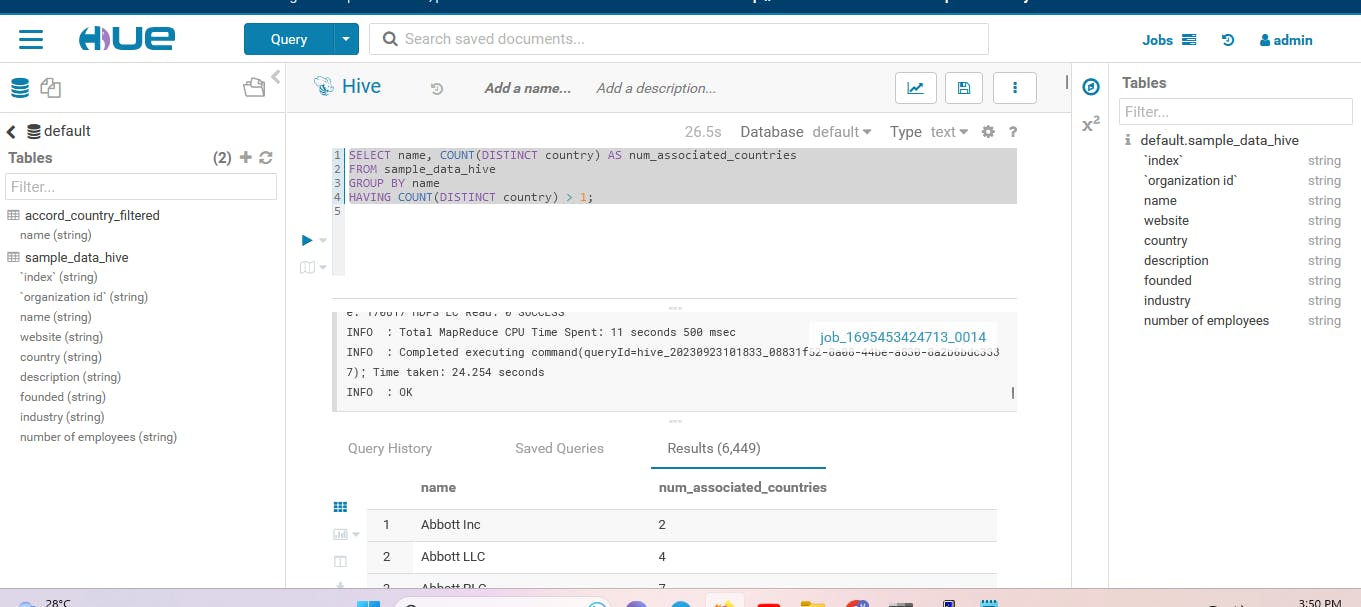
Press enter and the job will run it will create an executor and run the task inside that after successful completion of the job you can go to the hue browser and see the table under the default database.
If you want to perform SQL query using Pyspark for example to get the name of persons associated with a specific country you can add the code to your Pyspark script
filtered_df = spark.sql("SELECT name FROM sample_data_hive WHERE country='Italy'")

# Write the filtered DataFrame as a new Hive table
filtered_df.write.saveAsTable("accord_country_filtered", format="hive", mode="overwrite")

# Show the filtered DataFrame
filtered_df.show()

# Stop the SparkSession
spark.stop()
This will create another table name 'accord_country_filtered' and will store the names of people associated with the country you mentioned in the query.
So here it was a simple way to perform a transformation on semi-structured data and store it in a hive table just by using a single script. However, there are a lot more things in real-time clusters such as optimizing the queries and parameters while submitting the job, However in this blog, I have kept it simple you can play with this data by performing queries and transformations.